How you can digitalize and color 2D Sketches with AI
July 28, 2026 · 6 min read
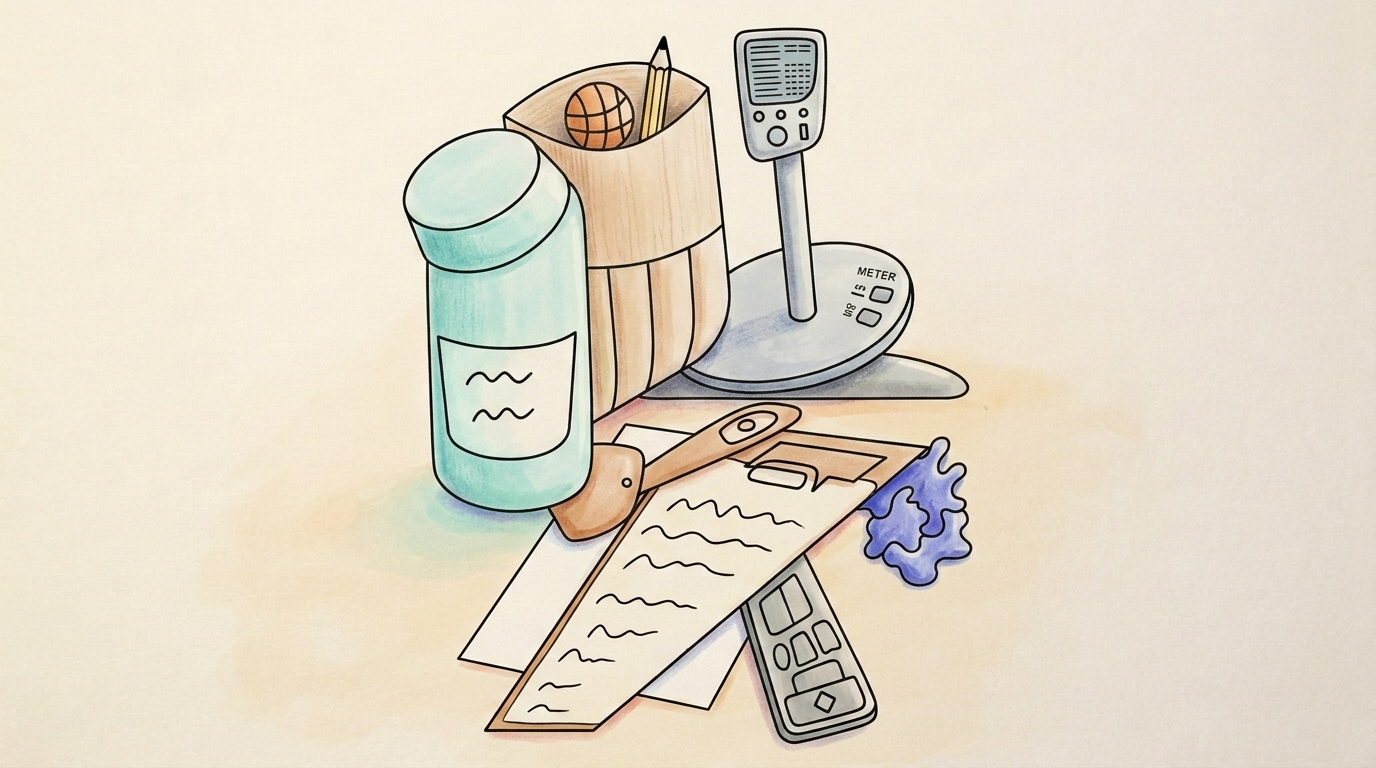
Do you love to draw and sketch, but are not the one to go further than having a raw and slightly rough sketch on your hand?
Your mind-hand connect just does not work as well as it could, or your sketches are great as they are, but you simply want to digitalize them and may also adapt them slightly?
Then this article is for you: How to turn them into digital art!
I was in a similar situation.Having drawn all these sketches, but I wondered how I can put them into digital art for myself, selling, saving, and so I started playing around with AI to see what is possible.
And the answer is - a lot.
The models nowadays are so good and so smooth that they can basically turn everything into AI.
The key though is to to make sure that your drawings are digitalized AS THEY ARE, not as AI makes them.
I tried to do it first with Claude and then let it read the image and let me create an AI image prompt that I would then put into Gemini Flash 2.5. That did not work.
But what worked is to cut the Claude round and directly and straight figure it out with Gemini.
Here are the 5 Steps I took to make that work.
The 5 Steps of turning any pen-and-paper sketch into digital art
Let's start with the original sketch so you know how it looked like.
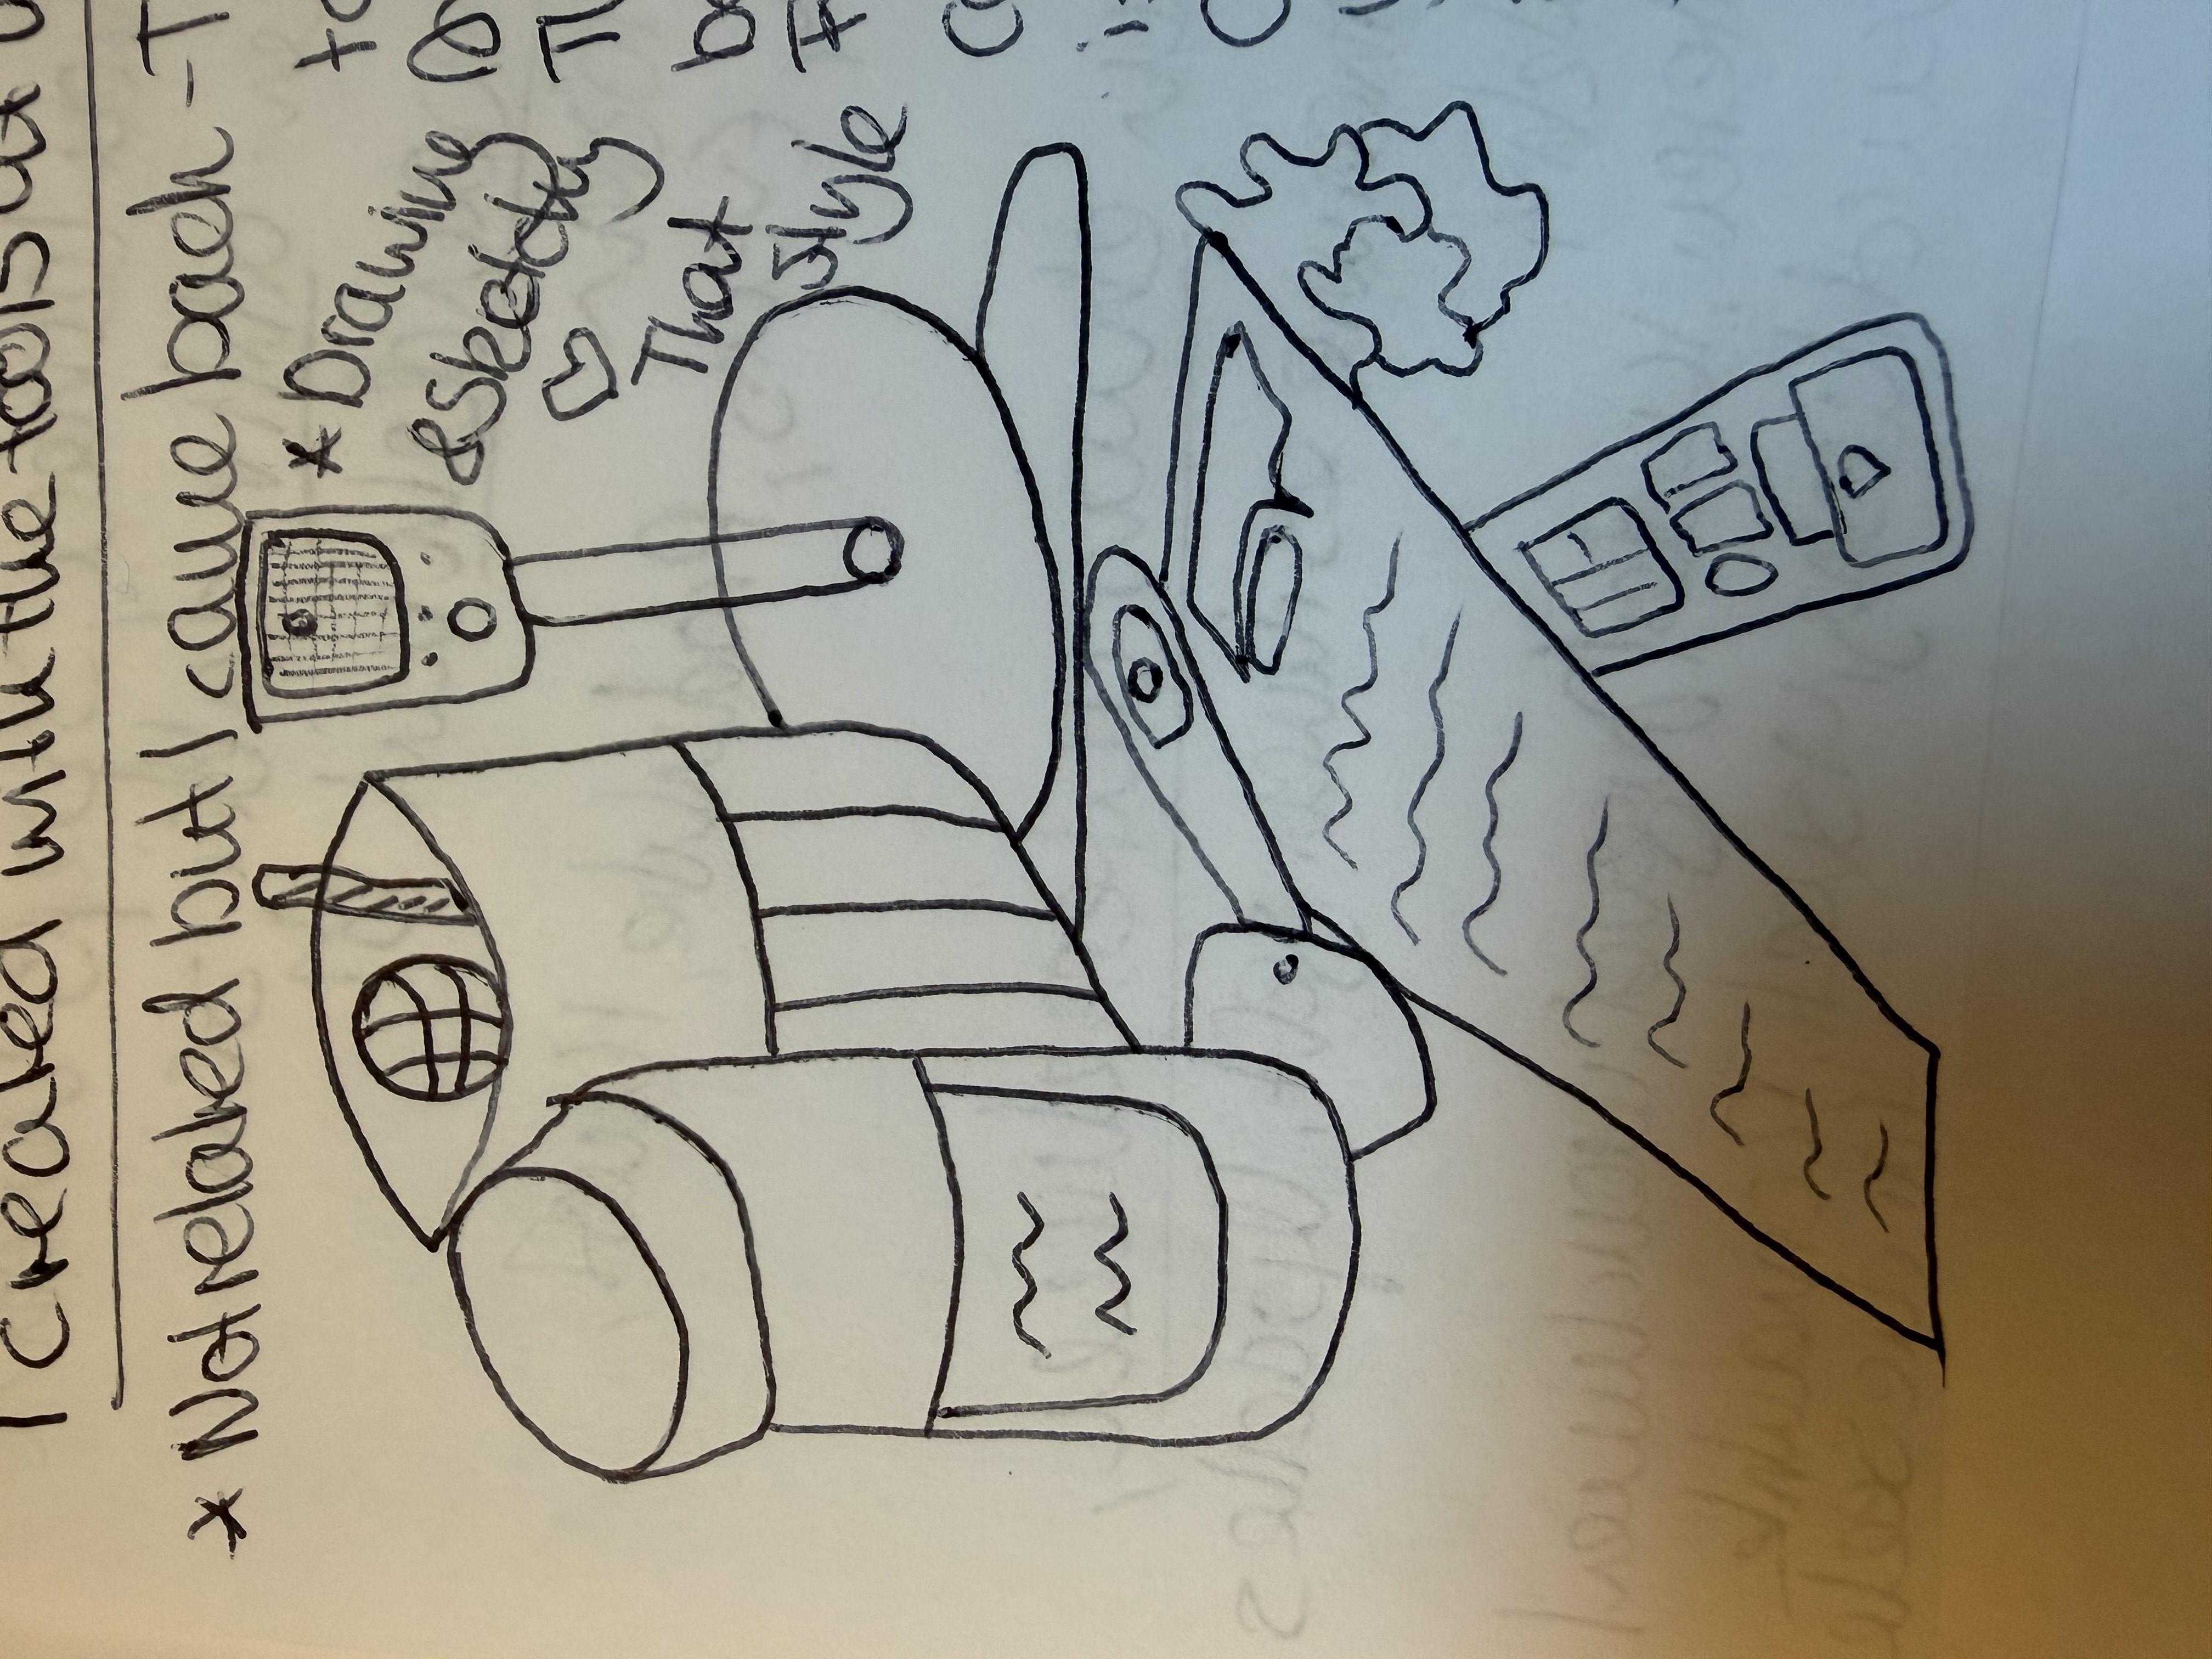
That image is rawly sketched, as you can see and the lines are not as smooth as they could be. It is -as is my style - a non-geographically accurate space-scenic sketch of a situation on a desk. But it could also be something else.
With that rather raw image, I inputted it into Gemini Flash 2.5. What you want to do is to make sure that you pick a size of the image, i.e. 9:16 or 16:9 or 1:1 so that it comes in the size that you want to have. I re-built myself Google Whisk when they sunsetted it to be able to choose that by a click, but it also works if you use the normal Google Chatbot with Gemini.
Prompt 1: Get the image into the AI - as is
The first prompt is for you to get the image into AI as identical as you have your sketch. I used the following prompt here:
Redraw that image/images exactly as you see it, just copy/paste it, remove the text
In my case, I added the "no text" part as I wanted to have the raw image, not the text on it as it was not related to the sketch itself.
See the result here:
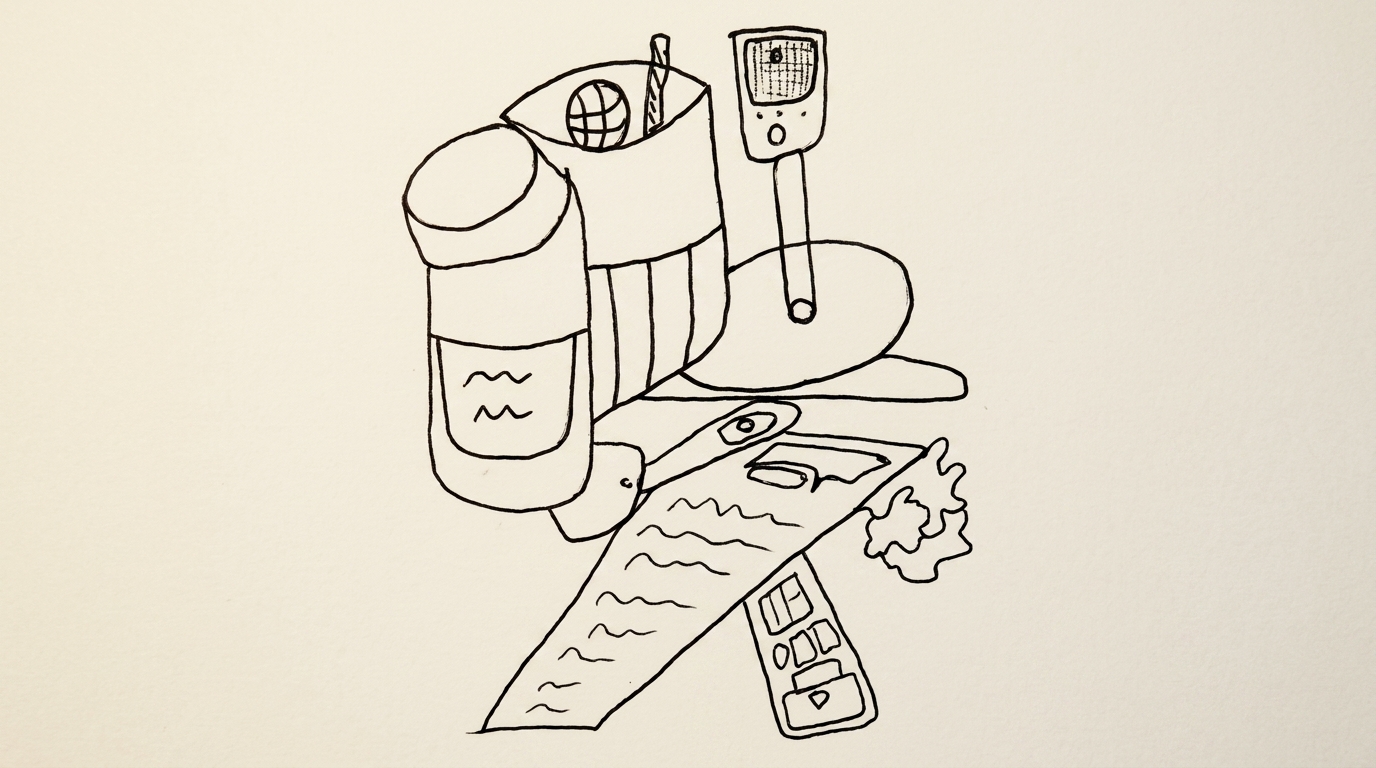
The background is clean with no text, however, the edges are still rough, the lines are still unclean. That is exactly what we want. The raw image digitalized. You want to make sure AI catches it correctly and copies it correctly before you play around with it. Of course you can also put all prompts into one and get a good result, and yet, it helps to see how you have full flexibility in adapting those images step by step to your liking.
With that, let's move on to the next prompt.
Prompt 2: Refine the lines.
The second prompt is easy. a 3-worder.
Refine the lines.
The result is the following:
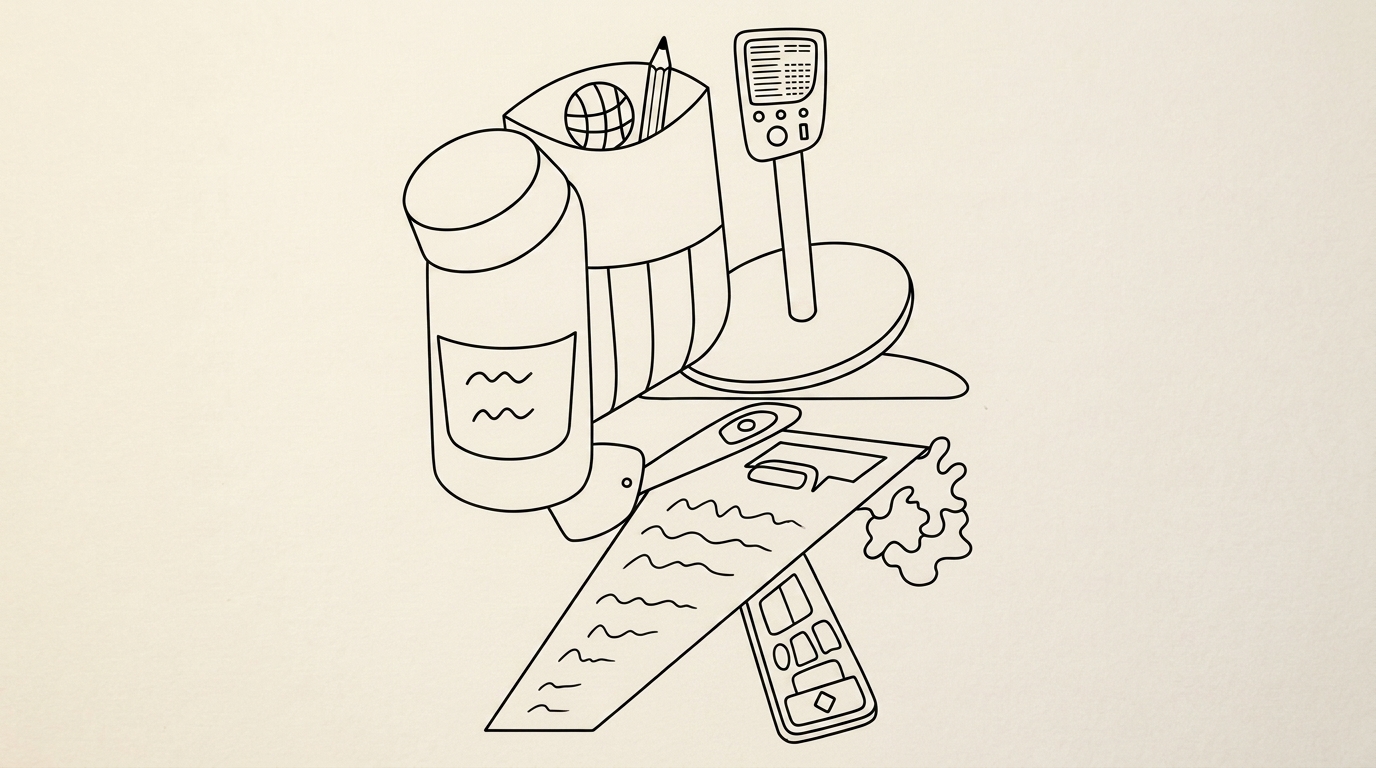
In that image now you see how the lines a cleaner, smoother, more refined. You see it in the tube, in the calculator-typed square on the screen and in general, on all the lines.They are cleaned up.
Prompt 3: Softly color it
This prompt is one that you can use as a midi-step, but for sure can also speed up the process.I like it as it gives me an understanding in which direction AI goes. And for sure I can adapt it here and make it more specific. If for example you have a specific scene in mind, then you can nudge AI to that scene as well.
I left it open and simply prompted:
Softly color it.
The result:
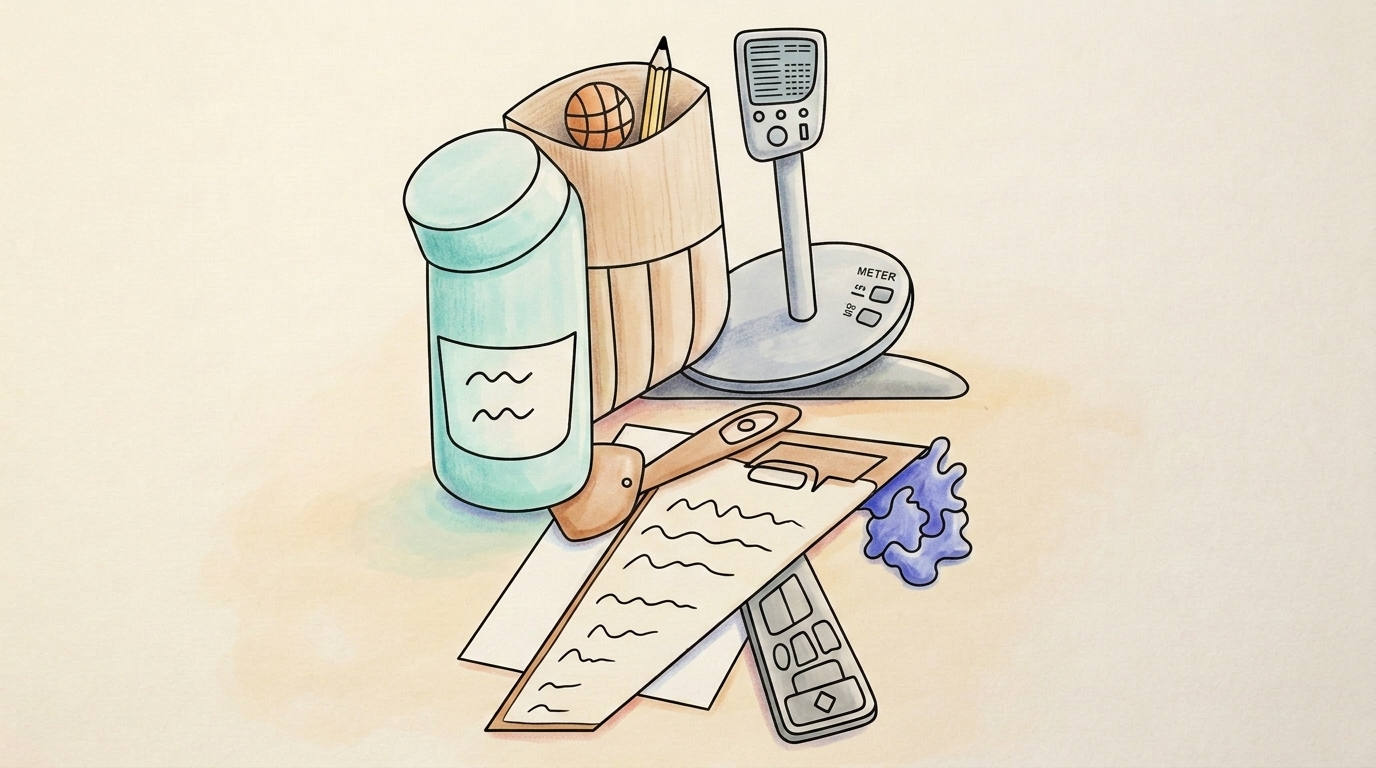
With that prompt we see how that one-dimensional image awakens to a more plastic scene. The colors give them meaning and direction. If you like your image here, you can move on, otherwise you can adapt the colors, details, remove parts of the image or add more. Simply prompt the AI with similarly short or even lengthy prompts and describe as clearly as possibly what you want the AI to change.
Examples:
Remove the brown basketball in the light brown bag, Make the grey calculator yellow, Add a green vase with flowers in it next to the turquoise tube, ..
Prompt 4: Create a scene out of it
I initially was skeptical if that prompt in its simplicity would work, but it does a surprisingly good job.
See for yourself:
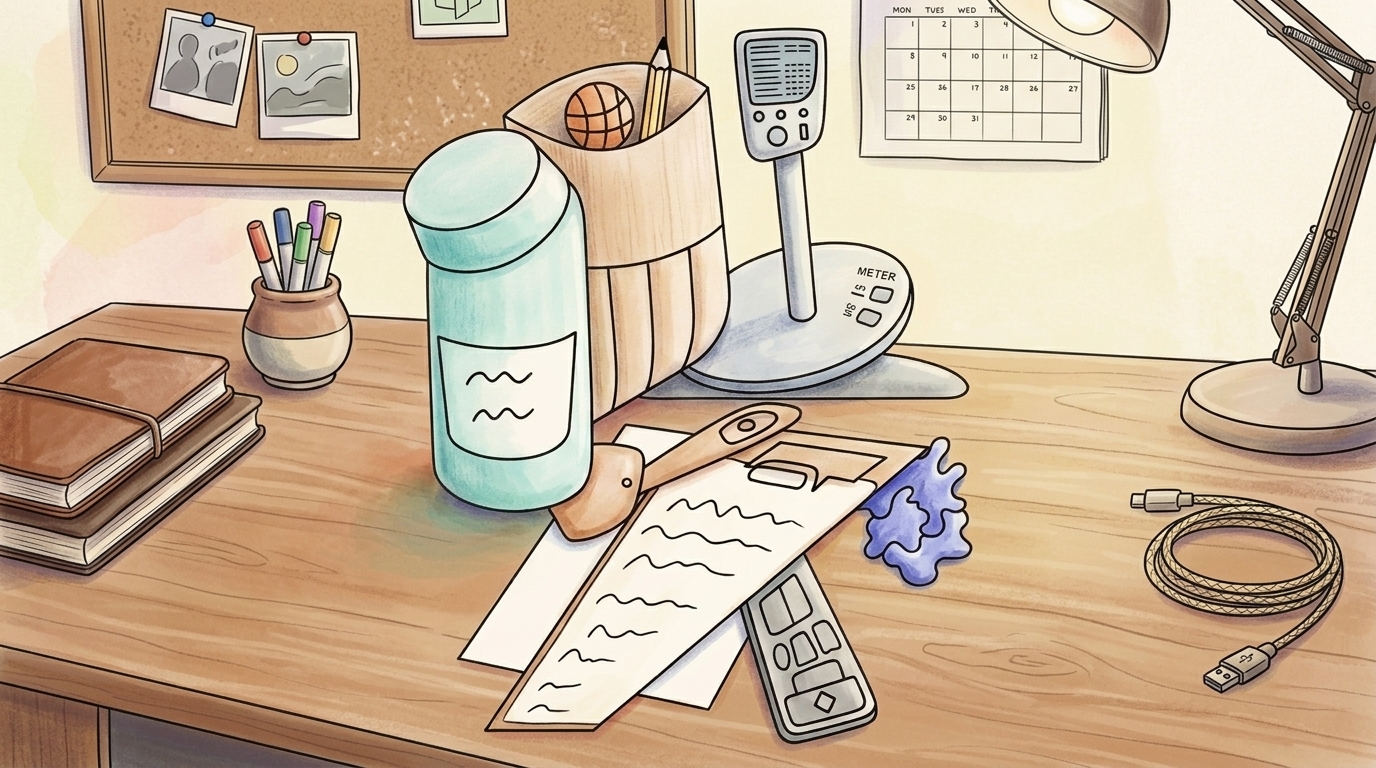
With that scene, AI creates a scene. It adds what it deemed needs to be added to make that image a full scene. Adding items and keeping the original sketch as the key sub-scene in the image.
Again, as with the prompt before you can now go along and ask AI to add parts of the scene, create a completely new scene and so on. I encourage you to play around with the prompts to see what works best for your sketches and your work.
I did one change after this one here, as I wanted to change the style of the scene.
Prompt 5: Recreate the scene in a 3D Cartoonish style
Yes, that was my last prompt that I used to change that image. Recreating the scene in a 3D cartoonish style.
Recreate the scene in a 3D Cartoonish st
The result is the following image:
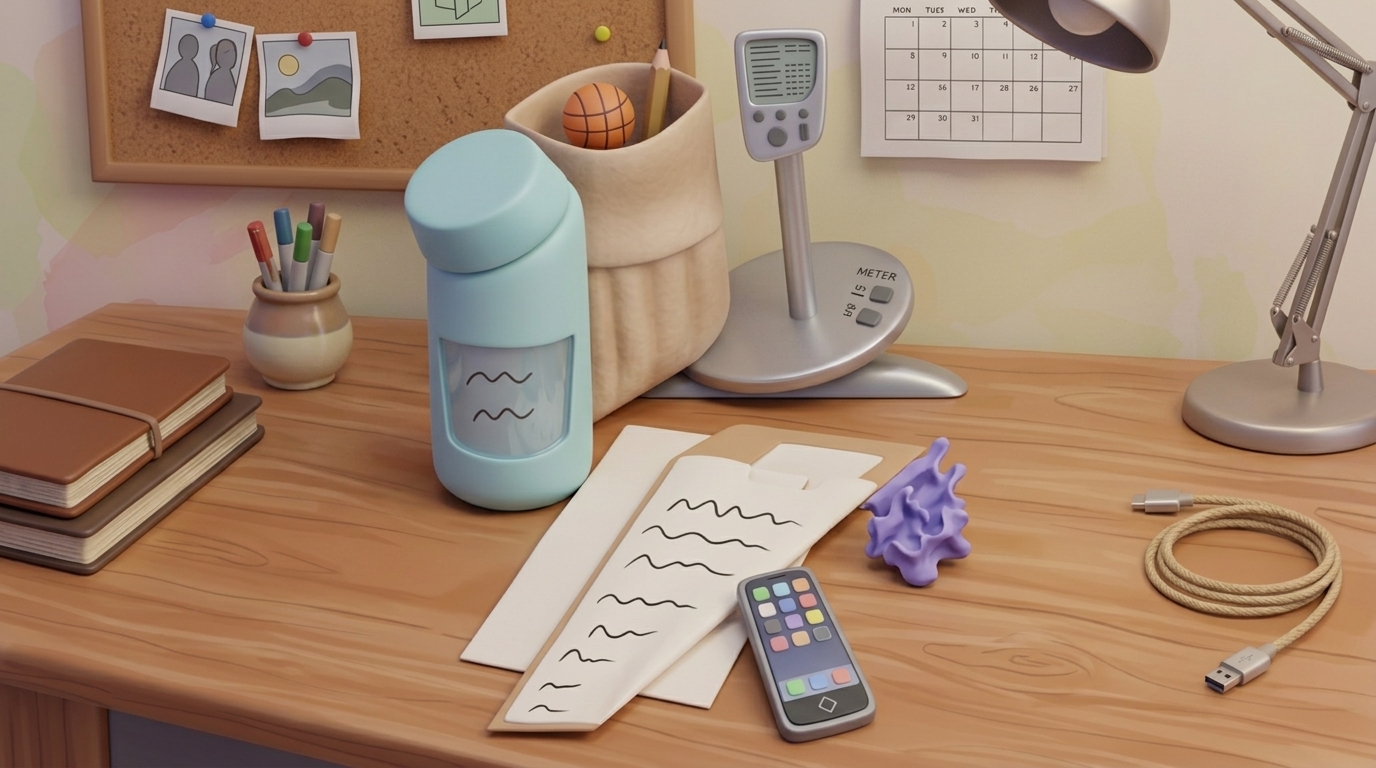
You can see that the style clearly changed. And if for anything, it become more 3D, more plastic, as if fully grabbable items are now on the desk, that you can take with your hands and move them around.
The original sketch became a full image. And it took us 5 prompts. Or even one, if you want to speed up the process. But now you know how to easily turn any sketch you draw into a beautiful digitalized image that you can use for any kind of design or simply as as a standalone image.
I find it helpful to use those images for my websites, as illustrations (if taking apart the individual pieces of the design), for images to print out and put on my wall for art, as inspiration for other art and design pieces I build, for product demos and as here, to showcase, what you can do with AI and a simple sketch or art on a piece of paper.
Love what you read and want to read more? Then follow along and subscribe to my newsletter. Best, Frederike
Want my notes in your inbox?
Leave your email and I'll send you my notes — little ways to keep practicing AI — plus The AI Practice newsletter as it takes shape.